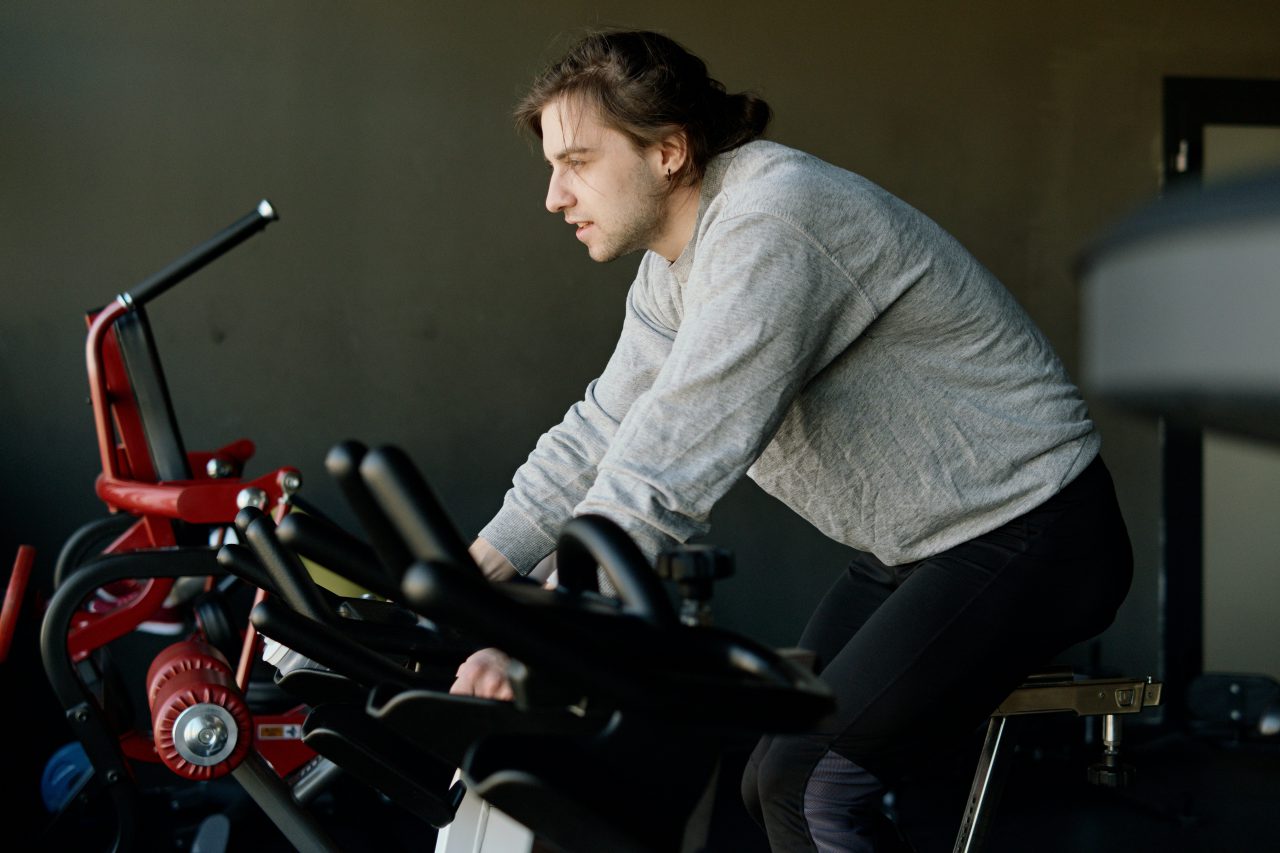
So you decided to try an indoor cycling class. Good for you Glen Coco! Here are some general recommendations to follow on your first indoor cycling class!
BIKE SETUP
You waltz into the studio feeling nervous, anxious, excited or dreading this new form of torture you’re about to put your body through. I hope you are more excited than anything but it is totally normal and understandable to feel apprehensive. To alleviate some negative feelings, I believe knowledge is key.
The first thing you’ll have to do once you check in, is set up your bike. The following are guidelines provided by the American Council On Exercise (ACE).
SEAT HEIGHT: Easiest and quickest way to choose a seat height is to find the top of your hip bone and adjust the seat height to that level. A slightly more accurate way is to stand right next to your bike and lift your thigh next to the bike with a 90 degree bend in the knee. The top of the elevated thigh is approximately where the top of your hip bone is. Twist the knob below the seat (lefty loosey, righty tighty) and raise the seat up to where the top of the elevated thigh is. When you sit on the seat (aka saddle), there should be a slight flexion (apx. 25-35 degrees) when the foot is at the bottom of the revolution.
SEAT FORWARD (fore) OR BACKWARD (aft): A good starting point for most riders is for the seat to be in the middle of the fore and aft adjustment of the saddle. When you sit on the bike, simply make sure that you can see your toes (but not your whole foot) when your feet are at 3 o’clock and 9 o’clock position of the revolution. The knee cap should be “directly above and in line with the pedal spindle (the bolt that is screwed through the pedal)” (ACE Group Fitness Handbook: The Professional’s Guide to Creating Memorable Movement Experiences, 2018 pg. 117).
HANDLEBAR HEIGHT: Generally, you don’t want your handlebar height to be BELOW your seat. The handlebar should be in-line with the seat or higher. The higher the handlebar, the less you’ll have to hinge forward which could make it easier on your core. If you’re a newbie, I recommend keeping the handlebar high. If you’re more of a pro and know how to engage your core lower the handlebar to saddle height.
HANDLEBAR FORE & AFT: When you are on your bike, hinge forward and place your hands on the closest section of the handle bars. There should be a slight flex in the elbows when placing your hands on the handlebars. If your arms have to be straight out to reach the handlebars in the seated position, the handlebars needs to come back closer to the saddle.
FOOT CAGES: Ensure that your feet are secure in the foot cages or that your spin shoes are properly clipped in. Make sure you can still wiggle your toes though.
RIDING RECOMMENDATIONS
The number one issue I see is too little resistance. While the class is difficult, not adding resistance actually makes it more challenging. This is especially true when you move into standing positions. Whenever you get your booty out of the saddle you are adding you body weight to the pedals which makes it easier to pedal. To maintain the same level of work you were performing while sitting, you MUST add some resistance when you stand. That little bit of added resistance is just to maintain. To actually make it heavy, you must add even more.
Additionally, the resistance you added while standing will give you something to push and pull on which will help you balance in standing positions. This will then allow you to relax the grip you have on the handlebars. If you are gripping the handlebars for dear life, you likely need to add resistance and relax your shoulders. The handlebars are there for balance, NOT to push and pull you in any direction. Light hands on the handlebars throughout the whole class!
Focus on your core, push down on the pedals, AND actively pull your feet up. Activate your hamstrings by pretending you’re wiping gum off the bottom of your shoe. This will also help you generate complete circles while you petal.
Another added bonus of resistance is that it prevents bouncing while you are in the saddle. If we are going super fast on a seated flat, you still want some resistance to push and pull against. Some natural bouncing is normal but excessive bouncing in the saddle is a good indication that more resistance is necessary.
LAST THOUGHTS
WHEW, there is a lot of information regarding indoor cycling. As a certified group fitness instructor and CPT, I will say to please, please, please listen to your body! I’ve taken many different types of indoor cycling classes over the past 13 years and each class, studio, instructor can vary. There are times when I’m taking a class and I think “wow, this is down right dangerous for my lower back” or “I need to dial it back or I’m going to pass out”. Do what feels right.
Think of the ride as YOUR time to be active. You don’t have to keep up with the instructor, you don’t have to perform all of the movements, focus more on impressing yourself and keeping good form. If that means just getting through the 50 minute class without stopping so be it! If that means increasing the resistance more times than the instructor cues, so be it! You are there for you. As an instructor, I see myself more of a facilitator for you to enjoy this activity. Work hard, enjoy the ride, impress yourself.


